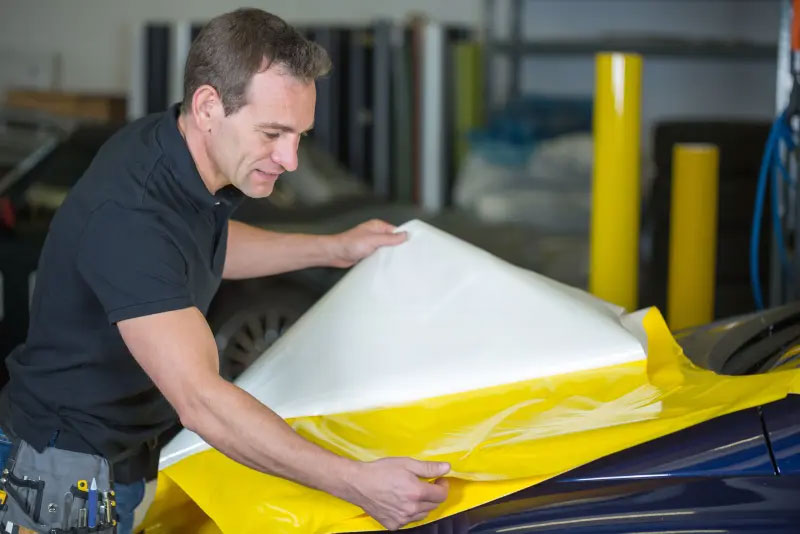
Few things are as frustrating and costly in the wrapping industry as having a $5,000 project returned to the shop due to failures. You’ve invested significant time, energy, and resources into creating the wrap, only to deal with an unhappy customer complaining about curling edges or pulling recesses. Unfortunately, failure may have been ingrained into your wrap from the start if you didn’t consider the entire process thoroughly.
ISSUE: Inaccurate or poorly-considered design
- Incorrect sizing can force installers to stretch or manipulate the film excessively. Have you considered compound curves or transitions from sides? Have you allowed for extra printing around the perimeter of each side to give installers flexibility? Have you anticipated that hard lines may not align well running up, over, and around corners? Have you provided enough film for the installers to work with?
- Avoid saving bits of film and ink to save costs, as this may ruin the project by putting installers in difficult situations.
- Relying solely on digital vehicle templates can lead to unforeseen issues. While modern vehicle templating is generally accurate, slight changes to body styles, hardware add-ons, sports packages, etc., can significantly impact your wrap design. It’s a good practice to obtain straight-on images combined with detailed and accurate measurements of the vehicle to double-check the template.
SOLUTION: Make sure your designers are communicating with your installers and vice- versa. A little discussion about real-world scenarios might just save you from future headaches.
ISSUE: Chemistry and all its glory
- All commonly used wrap printing technologies require curing or “outgassing.” Even latex inks come with a disclaimer warning printers to allow some time for the inks to cure before laminating. Solvent and eco-solvent inks are the biggest culprits of improper outgassing problems. The printing process uses solvent-based ink, which often requires 24 to 48 hours to cure, especially for highly saturated colors like Rich Black, which needs a lot of ink, resulting in a lot of solvent being dropped onto the film. Rushing the lamination time will trap these solvents. You cannot trick physics, so the trapped solvents will be forced to move through the path of least resistance, which unfortunately is right through the vinyl and into the adhesive. This causes the solvents to break down the glue, collapse the air-egress channels, and damage the repositionability properties of most modern wrapping films. Additionally, the solvents will break down the chemical properties of the adhesive and often create a tacky, more aggressive initial bond.
- Improper curing will create an unpleasant situation that experienced installers should immediately reject. An experienced subcontracted installer, upon being hit in the face with solvent fumes as they open the box, will immediately report the situation and abstain from beginning the project.
In short, the warranty has already been compromised, the glue has been damaged, and installers will have no desire to be blamed for a faulty product that is out of their control.

SOLUTION: Follow the film manufacturer’s guidelines for proper curing time before laminating. Plan your printing schedule accordingly. For example, if you need to ship prints by the end of the day on Friday, ensure that printing is completed by Tuesday. This allows for the curing period on Wednesday and Thursday, with lamination, trimming, and boxing done on Friday. Proper, unrushed planning will help you avoid this pitfall.
ISSUE: Contaminated surfaces
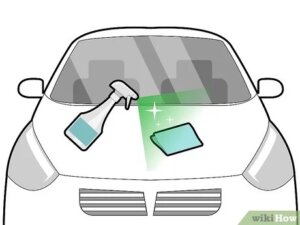
- Improper cleaning of wrapped surfaces is a recipe for failure. A new vehicle often has surface contaminants from the factory that help preserve the paint. These must be removed using a cleaner like Xylene or PrepSol, following proper health and safety guidelines.
- An older vehicle accumulates road grime, salt, dust, and dirt over time. Most shops require clients to wash their vehicles thoroughly without waxes, sealers, or clear coats. Even a freshly washed vehicle needs thorough cleaning, including a final hand-wiping with 70% isopropyl alcohol. The wet/dry method is effective, where a wet rag loosens surface contaminants and a dry rag removes them. Simply using a wet or sprayed alcohol approach can swirl contaminants and leave issues behind.
- Attention to detail is crucial. Dirt can collect in cracks, crevices, alongside panels, under seals, etc. It’s essential to clean these areas thoroughly for proper adhesion.

SOLUTION: To prevent wrap failures, it is absolutely essential to thoroughly and correctly clean surfaces.
ISSUE: Failure to dry fit the project
- Inexperienced installers often make the mistake of skipping the dry-fitting step and proceeding directly to laying the new wrap. However, this can lead to wrapping failures. Without double-checking the sizes and positions of the graphic elements, installers risk creating issues. For example, aligning a panel too far to the rear may require overstretching an element farther forward to compensate.
SOLUTION: Organizing and dry-fitting all wrap elements allows you to anticipate and address potential issues before they become irreparable.
ISSUE: Oh so much overstretching!
- Many installers tend to overestimate the stretchability of vinyl films when faced with challenging areas. While some stretch is possible, it is wiser to use proper installation techniques that minimize stretching. Heating the film excessively to pull it around curves or into recessed areas may seem effective initially, but it often leads to overstretching and subsequent failures. This can manifest as curled edges, wrinkles, and areas popping back out within days.
- Consider this: a vinyl wrap consists of two primary layers, the film itself and the underlying adhesive. Stretching the film also stretches the adhesive, causing both layers to thin out. A 50% thinner adhesive layer means 50% less glue, reducing its bonding ability. Combining physical stress on the film with less adhesive to hold it in place creates conditions ripe for failure.
SOLUTION: Instead of relying on heat as a quick fix, reserve its use for the final finishing touches. Learn and practice “zero stretch” techniques.
ISSUE: Failure to post-heat
- Post-heating involves applying the correct amount of additional heat to a completed installation, as specified by the manufacturer. This process achieves several important goals:
- It helps the film set into its final position.
- It can remove minor micro-scratches from the surface and restore the film’s gloss.
- During the installation and trimming of a wrap, the adhesive layer may slightly retract from the edges, leaving a small lip with no glue. Post-heating encourages the glue to flow back to the edges for a proper bond.

SOLUTION: Using a heat gun with adjustable heat or a propane torch, bring all surfaces up to the manufacturer’s specified temperature to set the film. A handheld infrared temperature reader/gun is very useful for identifying and controlling temperatures precisely. Consider this as giving your wrap a finishing touch.
Paying attention to these aspects of a wrap project will help predict and avoid most wrap failures. Preventing wrap failures contributes to keeping your clients happy, maintaining high morale among your designers and installers, and improving your bottom line.
