Blog

A Revolution in Car Wraps

Exploring the 3M™ Wrap Film Series 2080: A Revolution in Car Wraps

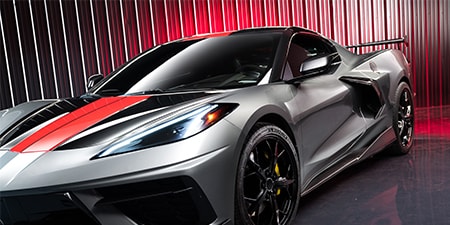
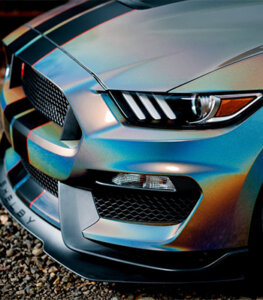
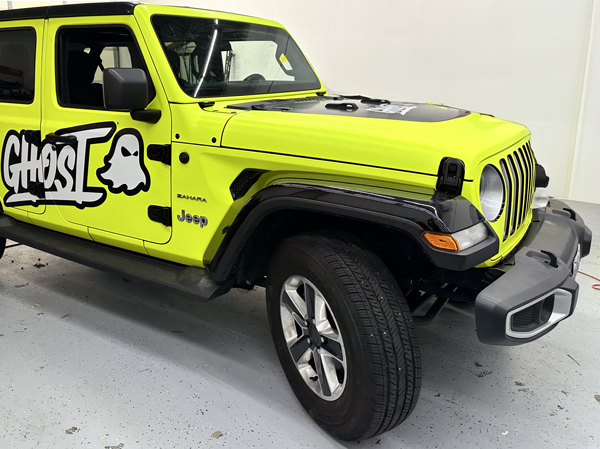
Car enthusiasts and professional detailers alike know that transforming the look of a vehicle can be both an art and a science. The 3M™ Wrap Film Series 2080 offers an innovative solution that combines cutting-edge technology with a vibrant palette of colors, enabling users to achieve stunning visual results with ease. In this blog post, we’ll delve into the unique features of the 3M™ Wrap Film Series 2080 and explore the extensive range of colors available to suit every style and preference.

Why Choose 3M™ Wrap Film Series 2080?

3M has long been a leader in the automotive film industry, known for its commitment to quality and innovation. The Wrap Film Series 2080 is no exception, boasting several key benefits:

  1. Superior Conformability and Flexibility
    • The 3M™ Wrap Film Series 2080 is engineered to conform to the most complex curves and contours of a vehicle, ensuring a smooth and seamless application. This makes it ideal for intricate designs and detailed work.
  2. Durability and Longevity
    • Designed to withstand the elements, the 2080 series offers excellent resistance to UV rays, moisture, and abrasions. This ensures that your car’s new look will stay vibrant and intact for years to come.
  3. Innovative Protective Layer
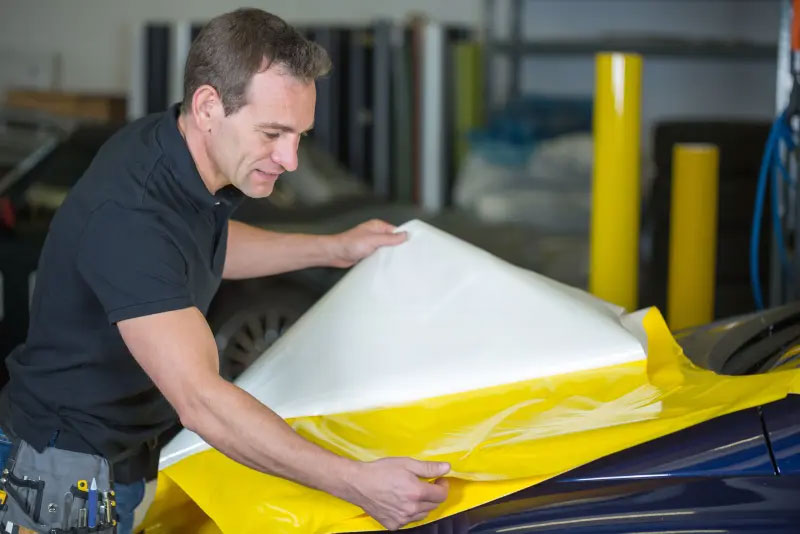
    • One of the standout features of the 2080 series is its unique protective film layer, which guards against scratches and handling marks during installation. This layer can be easily removed after application, revealing a pristine finish.
  4. Easy Installation and Removal
    • Thanks to 3M’s advanced adhesive technology, the Wrap Film Series 2080 allows for repositioning during application, reducing the risk of bubbles and wrinkles. Additionally, it can be removed cleanly without damaging the underlying paint, making it a great option for both temporary and permanent applications.

A Kaleidoscope of Colors

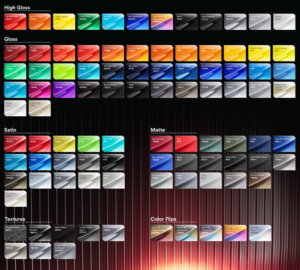
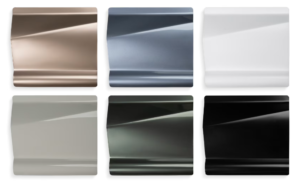
One of the most exciting aspects of the 3M™ Wrap Film Series 2080 is the extensive range of colors and finishes available. Whether you’re looking to make a bold statement or add a subtle touch of elegance, there’s a color for every taste. Here are some of the standout options:

  1. Gloss Colors
    1. Gloss Blue Fire: A vibrant and eye-catching shade that adds a pop of color.
    2. Gloss Wicked: A deep, mysterious purple that commands attention.
    3. Gloss White Gold Sparkle: Adds a touch of shimmer and sophistication.
  2. Matte Colors
    1. Matte Black: A classic choice for a sleek, modern look.
    2. Matte Military Green: Perfect for an edgy, rugged appearance.
    3. Matte Indigo: A unique blue hue that offers a softer alternative to gloss finishes.
  3. Satin Colors
    1. Satin Pearl White: A luxurious finish that exudes elegance.
    2. Satin Key West: A calming, tropical blue-green that brings a sense of tranquility.
    3. Satin Smoldering Red: A rich, fiery red that makes a bold statement.
  4. Textured and Special Effects
    1. Carbon Fiber Black: Offers a high-tech, textured look that mimics real carbon fiber.
    2. Brushed Steel: Provides a metallic, industrial aesthetic.
    3. Shadow Military Green: Combines a unique texture with a subdued, military-inspired color.

Conclusion

The 3M™ Wrap Film Series 2080 stands out as a premier choice for car wraps, offering unparalleled quality, durability, and ease of use. With a broad spectrum of colors and finishes to choose from, you can customize your vehicle to reflect your personal style and make a lasting impression on the road. Whether you’re a professional installer or a DIY enthusiast, the 2080 series promises to deliver exceptional results that will turn heads and inspire awe.

Explore the endless possibilities with the 3M™ Wrap Film Series 2080 and discover the perfect hue for your next automotive masterpiece.

Floor Graphic Installation

The Key to Applying Floor Graphics: A Step-by-Step Guide

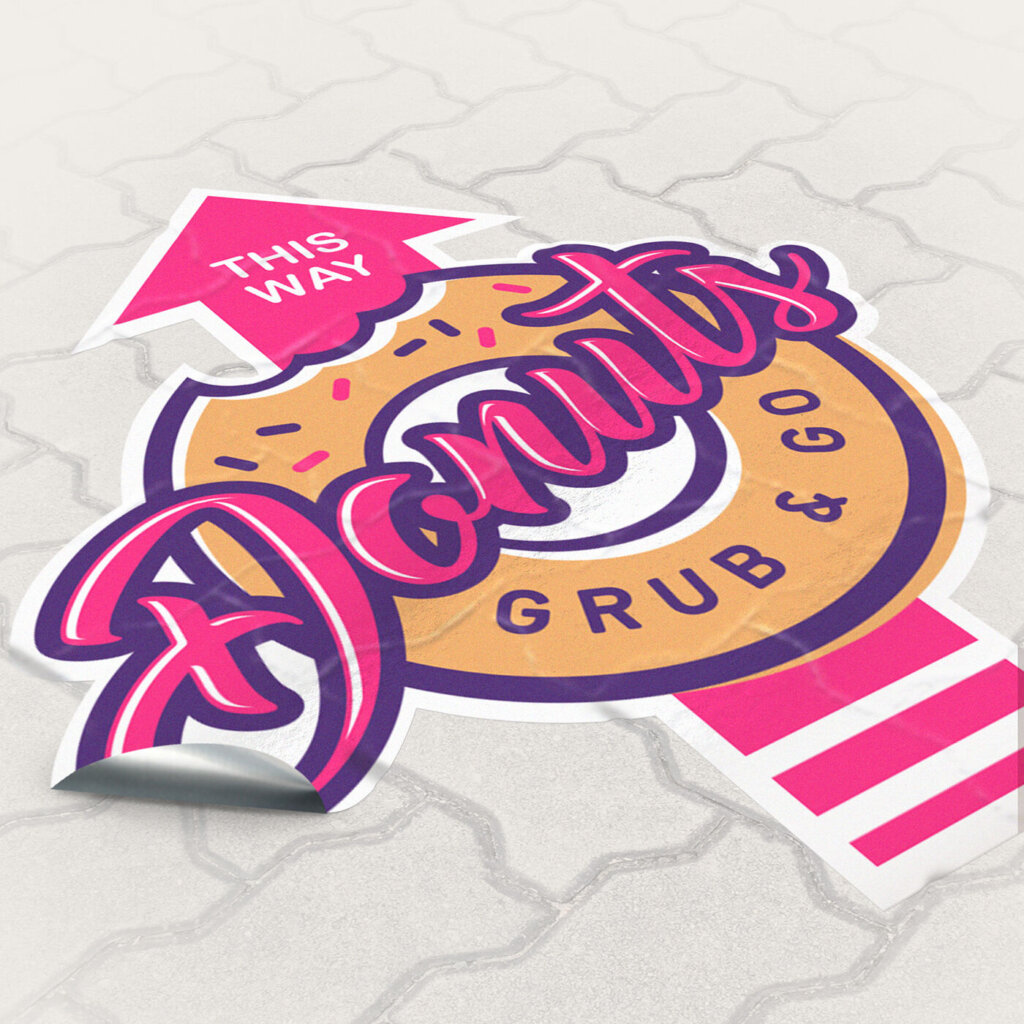
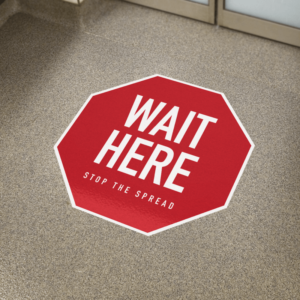
Floor graphics are an innovative way to enhance visual communication, guide traffic, promote branding, or simply add aesthetic appeal to any space. Whether used in retail environments, offices, schools, or public spaces, the key to their effectiveness lies in proper application. Here’s a comprehensive guide to ensure your floor graphics are applied flawlessly.

  1. Preparation is Crucial
    Before applying floor graphics, meticulous preparation is essential. The surface must be thoroughly cleaned to ensure the adhesive sticks properly and the graphic remains intact over time.

    • Clean the Surface: Sweep and vacuum the area to remove any dust, dirt, or debris. Use a damp mop with a mild detergent to clean the floor thoroughly. Avoid using harsh chemicals that could damage the floor or interfere with the adhesive.
    • Dry the Surface: Ensure the floor is completely dry before application. Moisture can compromise the adhesive, leading to bubbles or peeling.
  2. Gather the Right Tools
    Having the right tools on hand will make the application process smoother and more efficient.

    • Squeegee: For smoothing out the graphic and ensuring proper adhesion.
    • Tape Measure: To accurately position the graphic.
    • Masking Tape: To hold the graphic in place during application.
    • Utility Knife: For trimming excess material.
    • Lint-Free Cloth: For a final wipe-down of the surface.
  3. Positioning the Graphic
    Correct positioning is critical to the effectiveness and aesthetics of the floor graphic.

    • Measure and Mark: Use a tape measure to find the exact placement for your graphic. Mark the edges lightly with masking tape or a pencil.
    • Dry Fit: Lay the graphic on the floor without removing the backing to ensure it fits the space correctly and is positioned as desired.
  4. Applying the Graphic
    The application process can vary slightly depending on the type and size of the graphic, but the general steps are consistent.

    • Peel Back the Liner: Start at one edge and peel back a small section of the backing liner. Be careful not to touch the adhesive.
    • Initial Adherence: Align the exposed adhesive edge with your markings and press it down gently.
    • Smooth Out: Using a squeegee, slowly press the graphic onto the floor, working from the center outward to prevent air bubbles. Gradually peel back more of the liner as you go.
    • Check for Bubbles: If bubbles form, gently lift the graphic and reapply. Use the squeegee to smooth out any small bubbles
  5. Finishing Touches
    Once the graphic is applied, it’s important to ensure it’s securely adhered and looks perfect.

    • Trim Excess: Use a utility knife to carefully trim any excess material around the edges of the graphic.
    • Final Smooth: Give the entire graphic one last pass with the squeegee, focusing on the edges to ensure they’re firmly stuck down.
    • Clean Up: Remove any remaining masking tape and give the graphic a final wipe with a lint-free cloth.
  6. Maintenance
    Proper maintenance will prolong the life of your floor graphic and keep it looking great.

    • Regular Cleaning: Sweep and mop regularly to keep the graphic clean. Avoid using abrasive cleaners or tools that could scratch the surface.
    • Inspect Frequently: Check the edges and corners periodically for lifting or wear. Promptly address any issues to prevent further damage.

Conclusion

Applying floor graphics can be a straightforward process if you follow these key steps: thorough preparation, accurate positioning, careful application, and regular maintenance. By doing so, you can ensure your floor graphics remain vibrant, effective, and long-lasting, making a strong visual impact in any space.

Remember, the success of floor graphics doesn’t just lie in their design but in their application. A well-applied graphic can elevate the aesthetic appeal and functional value of your space significantly.


The Power of Vehicle Branding: Why You Should Wrap Your Company Vehicle

Introduction

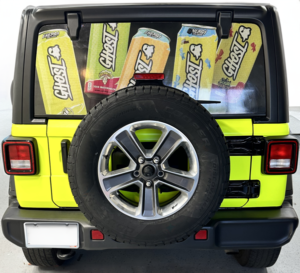
In today’s competitive business landscape, standing out is more important than ever. One of the most effective yet often overlooked marketing strategies is wrapping your company vehicle with your brand. A branded vehicle wrap transforms your car into a mobile billboard, offering numerous benefits that traditional advertising methods simply can’t match. In this post, we’ll explore the top reasons why you should consider wrapping your company vehicle with your brand and how it can help drive your business forward.

1. Unmatched Visibility

A vehicle wrap ensures your brand is seen by thousands of potential customers daily. Whether you’re parked in a busy shopping center, driving through urban areas, or simply stuck in traffic, your wrapped car catches the eyes of passersby. This constant visibility keeps your brand top-of-mind, increasing the likelihood of attracting new customers.

2. Cost-Effective Advertising

Compared to traditional advertising methods like billboards, TV ads, or print media, vehicle wraps offer a high return on investment. The initial cost of wrapping your company car is a one-time expense, but the wrap can last for several years with proper care. This means you get continuous advertising without the recurring costs associated with other forms of media.

3. Local Targeting

One of the biggest advantages of vehicle wraps is their ability to target local audiences. Your company car travels through the areas where your potential customers live, work, and shop. This localized exposure is particularly beneficial for small businesses looking to build a strong presence in their community.

4. Professional Appearance

A professionally wrapped company car enhances your brand’s image and credibility. It shows that you take your business seriously and are willing to invest in high-quality marketing. A well-designed wrap conveys professionalism and attention to detail, which can positively influence potential customers’ perception of your brand.

5. Protection for Your Vehicle

In addition to marketing benefits, vehicle wraps provide a protective layer for your car’s paintwork. The vinyl wrap shields the original paint from scratches, dings, and UV damage, helping to preserve the car’s resale value. When it’s time to remove the wrap, the paint underneath remains in excellent condition.

6. Customizable and Versatile

Vehicle wraps are highly customizable, allowing you to create a design that perfectly aligns with your brand identity. You can incorporate your logo, brand colors, contact information, and any other elements that represent your business. Additionally, wraps are versatile and can be applied to various types of vehicles, from cars and vans to trucks and trailers.

7. Non-Intrusive Advertising

Unlike traditional advertising that can sometimes feel invasive (think pop-up ads or telemarketing calls), vehicle wraps are a passive form of advertising. They don’t interrupt or annoy potential customers but still manage to capture their attention. This non-intrusive nature makes people more receptive to your brand message.

8. Measurable Impact

The impact of your vehicle wrap can be measured through various methods. You can track the number of impressions using GPS tracking and mileage logs, or monitor customer inquiries and sales spikes following the introduction of your branded vehicle. This data helps you gauge the effectiveness of your investment and refine your marketing strategies accordingly.

Conclusion

Wrapping your company car with your brand is a powerful and cost-effective marketing tool that offers unparalleled visibility and local targeting. It not only enhances your brand’s image but also protects your vehicle and provides a customizable platform for your marketing message. By investing in a vehicle wrap, you can drive your business forward, literally and figuratively, while making a lasting impression on your potential customers.

French Cleat: A cleat by any other name is not the same!

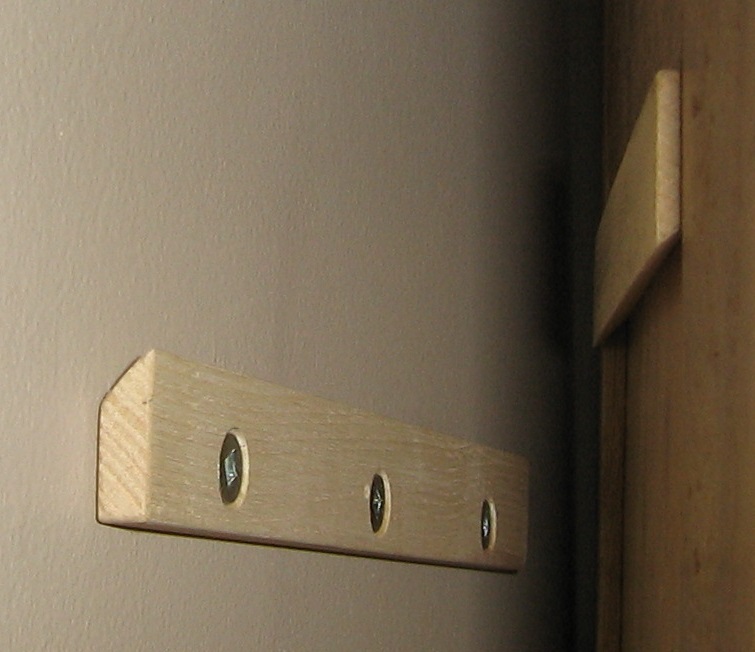
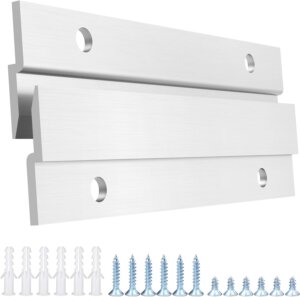
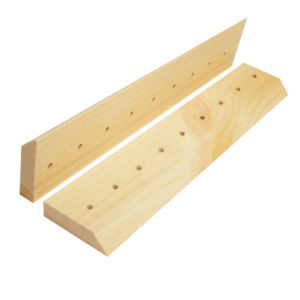
A French cleat is a popular method for hanging items on walls securely. It consists of two pieces of wood/metal or whatever sturdy material you are utilizing, each with a 45-degree bevel cut along one edge. One piece is attached to the wall, and the other is attached to the item being hung. The beveled edges interlock, providing strong support.

People use French cleats for several reasons:

  1. Strength and stability: French cleats distribute weight evenly, making them ideal for hanging heavy items like cabinets, shelves, and mirrors.
  2. Adjustability: Items hung with French cleats can be easily adjusted horizontally to ensure they are level.
  3. Versatility: French cleats are adaptable and can be used for a variety of applications, including hanging artwork, tools, and kitchen utensils.
  4. Aesthetics: The cleat itself is often hidden, giving the appearance that the item is floating on the wall.

Overall, French cleats provide a reliable and flexible solution for wall mounting, particularly for heavier or more substantial items.


Choosing Between Vehicle Lettering, Partial Wraps, and Full Wraps

There are plenty of reasons to consider adding advertising to your car, truck, trailer, or even your bus, boat, motorcycle, or aircraft!


According to a study by 3M, fleet graphics are the most cost-effective outdoor advertising medium available, delivering greater value on a cost-per-thousand impressions basis than television, magazines, newspapers, prime-time television, radio, and outdoor billboards!

Another study found that vehicle lettering, car wraps, and similar graphics are as effective as they are economical. Their research showed that:

97% of survey respondents recalled the vehicle graphic on the truck.
98% thought the vehicle ads created a positive image of the advertiser.
96% believed fleet graphics had more impact than billboards.
One of the attractive features of vehicle graphics is their flexibility. They allow you to choose from a range of options depending on your business needs and marketing budget. Consider the following three primary vehicle graphic options: 

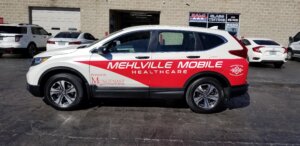
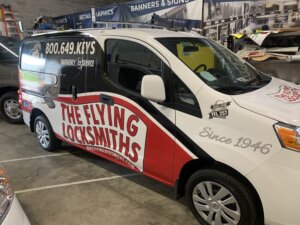
  • Vehicle Lettering: This is the simplest and most economical choice. Vinyl letters and numerals can be applied to your vehicle. Use this option if your vehicles are not the primary promotional medium for your business but complement other advertising methods well. Most marketers use vehicle lettering to spell out their company name, slogan, phone number, address, and web address. These letters can be designed, fabricated, and installed quickly. They are often placed over side and rear windows for good contrast and excellent readability.
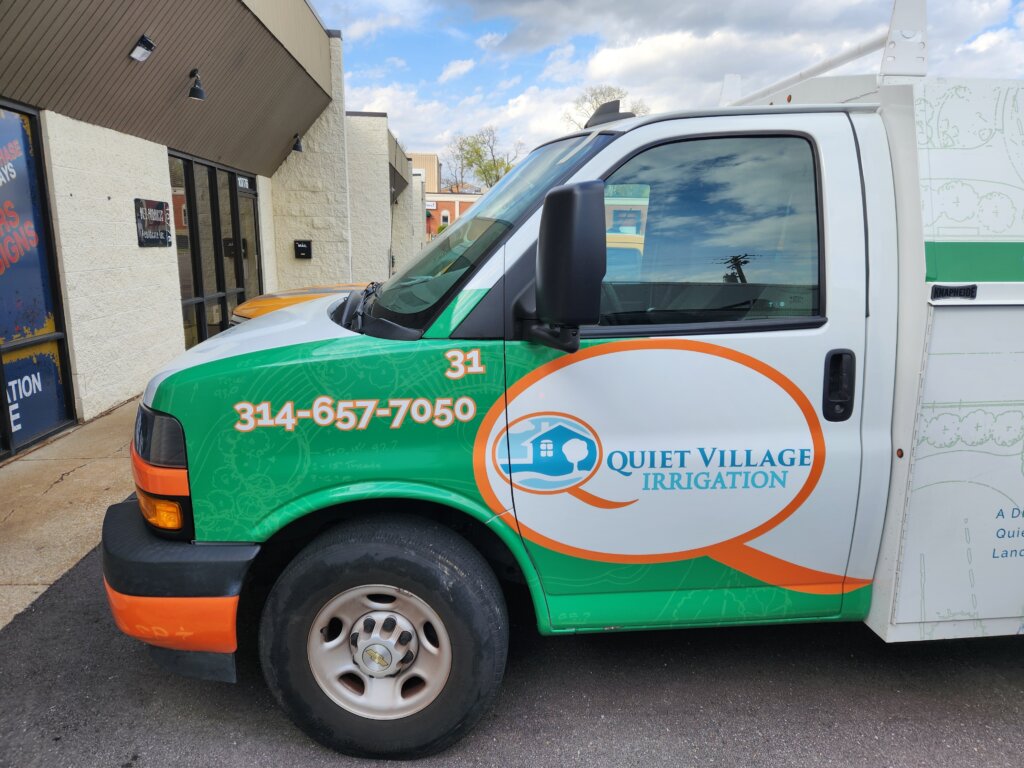
  • Partial Vehicle Wraps: These wraps cover part of your vehicle with a promotional message. They offer a higher visual impact than vehicle lettering but are less expensive than full wraps. They are a great option if your vehicles are extensively used for sales, service, or delivery calls.
  • Full Vehicle Wraps: These wraps deliver maximum visual impact by covering all four sides of your vehicle, and may even extend to the roof and bumpers. They are more expensive but are still less costly than a custom paint job. Full wraps are often used by businesses whose vehicles are their main option for promotions, such as carpet cleaning, HVAC, and florist vans. They can also provide a protective layer to your vehicle’s finish. Full vehicle wraps are also readily removable, making them suitable for leased vehicles or promotional purposes during events. Some companies even extend their designs to side and rear windows using perforated window graphics for additional visibility.

In conclusion, vehicle graphics offer a cost-effective and impactful way to promote your business, with options to suit various budgets and marketing needs.

Colored adhesives, how to maintain accuracy and quality

There are numerous reasons why you might look for colored adhesive when creating an application. Whether it’s for brand recognition or product identification requirements, colored adhesive tapes are incredibly useful.

The most common method for obtaining custom colored tape is by sourcing colored face material and then coating the adhesive on the carrier to create a colored double-sided or single-sided tape product.

While this approach can achieve the desired color and effect, it can also present some challenges. These may include the unavailability of the desired face material color and the high minimum order quantities required to produce tapes using this method.

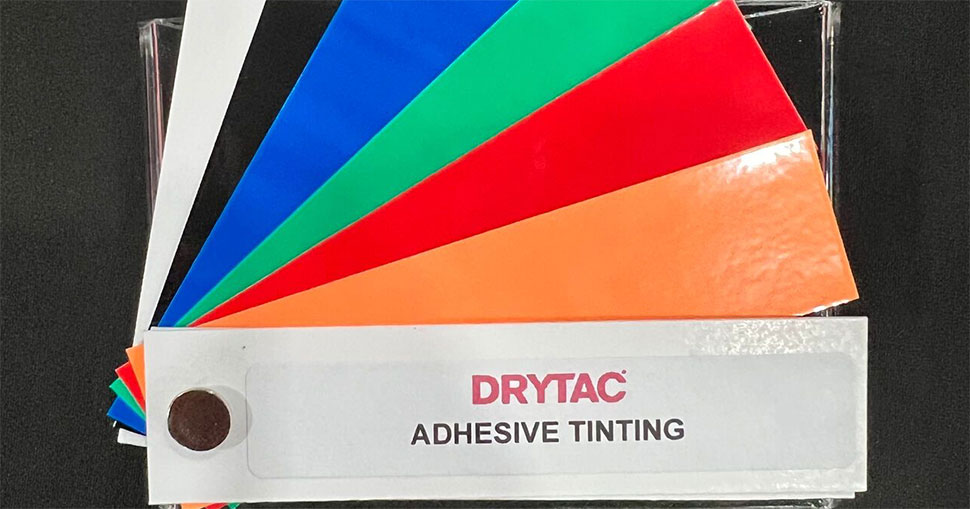
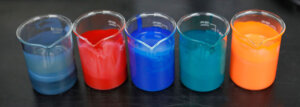
However, Drytac offers a much easier and more efficient alternative thanks to its unique adhesive science. Drytac takes a clear carrier film such as PET, PVC, or LDPE and tints the adhesive to the desired color or shade.

This results in a colored tape that can be created in virtually any color. To further simplify the process for customers, the minimum order quantity for these custom adhesives is just one master roll, which is much more manageable than the alternative method.

Drytac’s production flexibility allows customers to provide an existing colored tape for matching or choose from Drytac’s extensive range of color swatches to select a color that best suits their application.

In conclusion, with Drytac’s adhesives, the possibilities for creativity and color are endless.

Just Make it Go Away!

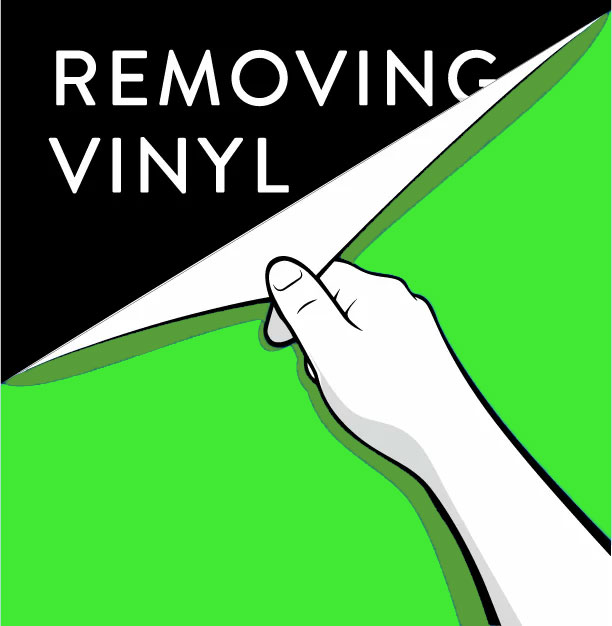
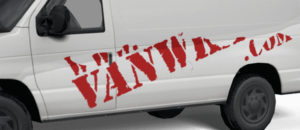
Did you know Installed Graphics removes vinyl from vehicles and trailers, as well as installs?  Here are some tips for easy removal:

  1. Your vinyl will remove easier if you use a high quality laminate.  Although a liquid laminate will save you money up front, you may spend hundreds of dollars more per vehicle on removal later on.  Be sure to know the life of your wrap when making this decision.
  2. Certain vinyls, particularly 3M, remove easier than off-brand competitors.  Since removal is almost always billed by the hour, quicker removal means a lot of money saved.
  3. Remember, removal takes time, and time means your vehicle is not on the road making you money.

Installed Graphics, Inc. has specialized equipment to speed the removal process, so you can get your fleet back on the road.

Think about your removal when ordering your installation – you won’t regret it!

Common Errors in Wrapping and How to Prevent Them

Few things are as frustrating and costly in the wrapping industry as having a $5,000 project returned to the shop due to failures. You’ve invested significant time, energy, and resources into creating the wrap, only to deal with an unhappy customer complaining about curling edges or pulling recesses. Unfortunately, failure may have been ingrained into your wrap from the start if you didn’t consider the entire process thoroughly.

ISSUE: Inaccurate or poorly-considered design

  1. Incorrect sizing can force installers to stretch or manipulate the film excessively. Have you considered compound curves or transitions from sides? Have you allowed for extra printing around the perimeter of each side to give installers flexibility? Have you anticipated that hard lines may not align well running up, over, and around corners? Have you provided enough film for the installers to work with?
  2. Avoid saving bits of film and ink to save costs, as this may ruin the project by putting installers in difficult situations.
  3. Relying solely on digital vehicle templates can lead to unforeseen issues. While modern vehicle templating is generally accurate, slight changes to body styles, hardware add-ons, sports packages, etc., can significantly impact your wrap design. It’s a good practice to obtain straight-on images combined with detailed and accurate measurements of the vehicle to double-check the template.

SOLUTION: Make sure your designers are communicating with your installers and vice- versa. A little discussion about real-world scenarios might just save you from future headaches.


ISSUE: Chemistry and all its glory

  1. All commonly used wrap printing technologies require curing or “outgassing.” Even latex inks come with a disclaimer warning printers to allow some time for the inks to cure before laminating. Solvent and eco-solvent inks are the biggest culprits of improper outgassing problems. The printing process uses solvent-based ink, which often requires 24 to 48 hours to cure, especially for highly saturated colors like Rich Black, which needs a lot of ink, resulting in a lot of solvent being dropped onto the film. Rushing the lamination time will trap these solvents. You cannot trick physics, so the trapped solvents will be forced to move through the path of least resistance, which unfortunately is right through the vinyl and into the adhesive. This causes the solvents to break down the glue, collapse the air-egress channels, and damage the repositionability properties of most modern wrapping films. Additionally, the solvents will break down the chemical properties of the adhesive and often create a tacky, more aggressive initial bond.
  2. Improper curing will create an unpleasant situation that experienced installers should immediately reject. An experienced subcontracted installer, upon being hit in the face with solvent fumes as they open the box, will immediately report the situation and abstain from beginning the project.

In short, the warranty has already been compromised, the glue has been damaged, and installers will have no desire to be blamed for a faulty product that is out of their control.

SOLUTION: Follow the film manufacturer’s guidelines for proper curing time before laminating. Plan your printing schedule accordingly. For example, if you need to ship prints by the end of the day on Friday, ensure that printing is completed by Tuesday. This allows for the curing period on Wednesday and Thursday, with lamination, trimming, and boxing done on Friday. Proper, unrushed planning will help you avoid this pitfall.


ISSUE: Contaminated surfaces

  1. Improper cleaning of wrapped surfaces is a recipe for failure. A new vehicle often has surface contaminants from the factory that help preserve the paint. These must be removed using a cleaner like Xylene or PrepSol, following proper health and safety guidelines.
  2. An older vehicle accumulates road grime, salt, dust, and dirt over time. Most shops require clients to wash their vehicles thoroughly without waxes, sealers, or clear coats. Even a freshly washed vehicle needs thorough cleaning, including a final hand-wiping with 70% isopropyl alcohol. The wet/dry method is effective, where a wet rag loosens surface contaminants and a dry rag removes them. Simply using a wet or sprayed alcohol approach can swirl contaminants and leave issues behind.
  3. Attention to detail is crucial. Dirt can collect in cracks, crevices, alongside panels, under seals, etc. It’s essential to clean these areas thoroughly for proper adhesion.

SOLUTION: To prevent wrap failures, it is absolutely essential to thoroughly and correctly clean surfaces.


ISSUE: Failure to dry fit the project

  1. Inexperienced installers often make the mistake of skipping the dry-fitting step and proceeding directly to laying the new wrap. However, this can lead to wrapping failures. Without double-checking the sizes and positions of the graphic elements, installers risk creating issues. For example, aligning a panel too far to the rear may require overstretching an element farther forward to compensate.

SOLUTION: Organizing and dry-fitting all wrap elements allows you to anticipate and address potential issues before they become irreparable.


ISSUE: Oh so much overstretching!

  1. Many installers tend to overestimate the stretchability of vinyl films when faced with challenging areas. While some stretch is possible, it is wiser to use proper installation techniques that minimize stretching. Heating the film excessively to pull it around curves or into recessed areas may seem effective initially, but it often leads to overstretching and subsequent failures. This can manifest as curled edges, wrinkles, and areas popping back out within days.
  2. Consider this: a vinyl wrap consists of two primary layers, the film itself and the underlying adhesive. Stretching the film also stretches the adhesive, causing both layers to thin out. A 50% thinner adhesive layer means 50% less glue, reducing its bonding ability. Combining physical stress on the film with less adhesive to hold it in place creates conditions ripe for failure.

SOLUTION: Instead of relying on heat as a quick fix, reserve its use for the final finishing touches. Learn and practice “zero stretch” techniques.


ISSUE: Failure to post-heat

  1. Post-heating involves applying the correct amount of additional heat to a completed installation, as specified by the manufacturer. This process achieves several important goals:
    • It helps the film set into its final position.
    • It can remove minor micro-scratches from the surface and restore the film’s gloss.
    • During the installation and trimming of a wrap, the adhesive layer may slightly retract from the edges, leaving a small lip with no glue. Post-heating encourages the glue to flow back to the edges for a proper bond.

SOLUTION: Using a heat gun with adjustable heat or a propane torch, bring all surfaces up to the manufacturer’s specified temperature to set the film. A handheld infrared temperature reader/gun is very useful for identifying and controlling temperatures precisely. Consider this as giving your wrap a finishing touch.

Paying attention to these aspects of a wrap project will help predict and avoid most wrap failures. Preventing wrap failures contributes to keeping your clients happy, maintaining high morale among your designers and installers, and improving your bottom line.

Tesla’s Color Wraps Could Rescue the Cybertruck from Its Unconventional Design

When Elon Musk’s polarizing pickup hit the market, Tesla’s new side business might offer a solution for its unconventional appearance.

Tesla aimed to make its stainless-steel Cybertruck stand out by eliminating the need for paint, a challenging task. The only other company to come close was DeLorean, which sold just 9,000 cars before filing for bankruptcy in 1982.

However, when Tesla begins Cybertruck deliveries, it might have found a workaround that DeLorean couldn’t: color wraps. These are decorative films applied to the vehicle’s exterior, a potentially lucrative upsell Tesla has been experimenting with in California. This approach could help soften the truck’s sharp edges, making it more appealing to mainstream buyers.

“It looks a lot more attractive with these wraps on it,” says Jessica Caldwell, head of insights for Edmunds, while viewing images of Cybertruck test vehicles adorned with custom prints. She notes a trend in the auto industry towards boxier, more “masculine” designs, contrasting with the bubble-shaped SUVs that have long been dominant. Caldwell suggests Tesla may have pushed the envelope a bit too far with the Cybertruck.

Starting with seven

Wrapping vehicles in colorful coatings is not new. Wraps can turn a Ferrari into a chrome-plated bullet or a plain work van into a vibrant billboard. While some liken the Cybertruck to a refrigerator on wheels, others see it as a blank canvas.

Tesla quietly started offering in-house wraps for the Model 3 and Model Y in October, possibly as a trial run before Cybertruck deliveries begin. It’s unclear if wraps will be available for the Cybertruck, but Musk mentioned in 2020 that the truck could be wrapped in any color or pattern.

Car wraps come in two types: form-fitted vinyl wraps and color-infused paint protection film (PPF). Vinyl wraps are cheaper, typically costing between $3,000 and $5,000, and offer more customization options. PPF is more durable and protective but almost twice as expensive.

Tesla’s initial selection of wraps for the Model 3 and Model Y consists of high-end film designed to resist grime and self-heal after minor scratches. The company charges $7,500 to $8,000 for these wraps, offering seven subtle colors from “Satin Rose Gold” to “Stealth Black.”

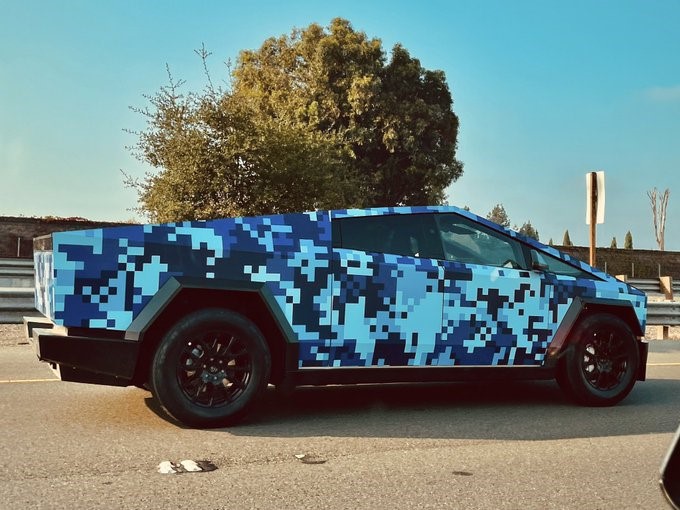
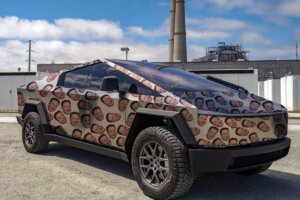
While Tesla has not confirmed customization options, several Cybertrucks have been spotted with detailed patterns and logos that would typically only be possible with vinyl wraps. These include neon Cybertruck logos spray-painted across the doors, Cybertrucks designed to look like a Ford F-150 and a Toyota Tundra, and various unconventional camouflage patterns.

The concept of in-house Cybertruck wraps, or “Cyberwraps,” may have been part of Tesla’s plan from the beginning. When designing the Cybertruck, Tesla was recovering from a challenging production ramp-up for the Model 3, which Musk said nearly bankrupted the company. Many issues stemmed from the paint shop, where automotive paint can be expensive, finicky, and environmentally harmful.

In-house wraps could be highly profitable, as most of the cost is associated with labor rather than materials. The film must be meticulously applied around every headlight, door handle, logo, and trim piece. The Cybertruck’s flat panels could make this process easier.

Profit from wraps, along with the $12,000 price tag on Tesla’s FSD driver-assistance features, could help keep the Cybertruck’s base price lower for budget-conscious buyers. To reach its sales target of 250,000 trucks a year, Tesla will need to appeal to multiple segments of the truck market.

Even if Tesla does not offer wraps initially, third-party wrap installers have been preparing for the Cybertruck’s release since 2019. Wrapmate, a vinyl-wrap company based in Colorado, offers to custom wrap a Cybertruck for $4,163, including design assistance, materials, and installation by partner garages across the US.

“For businesses, I think this is a great idea,” says Caldwell from Edmunds. “Obviously, the Cybertruck is very noticeable on the road and will draw attention when you wrap it with your business logo.”

Tesla will likely use its launch event to showcase the Cybertruck’s toughness, with demonstrations of its durability and strength. However, Caldwell suggests that the biggest challenge will be whether customers feel comfortable driving such an attention-grabbing vehicle, especially given Musk’s controversial public persona.

“People wanted to be part of his movement, and it really helped Tesla sell vehicles,” Caldwell says. “Now, they are launching this vehicle when his popularity is very different. People will be a lot less forgiving.”

Infuse a burst of freshness into your workspace this spring

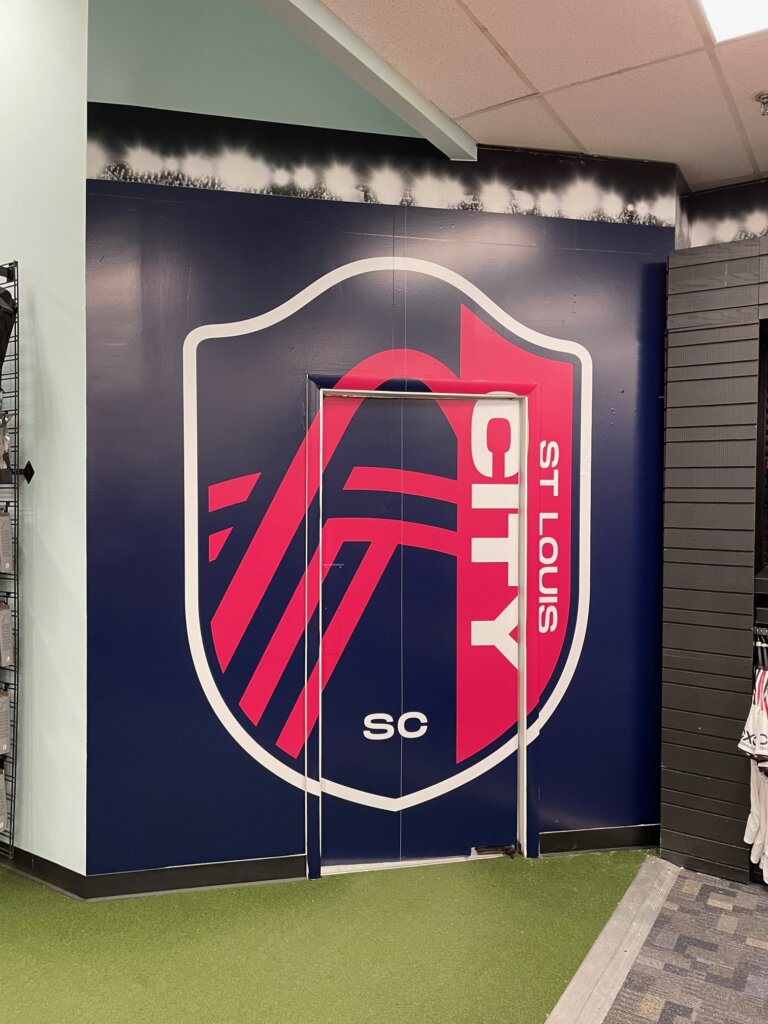
Spring offers an ideal opportunity to concentrate on the signage and displays within your retail space. Custom wall graphics can transform virtually any surface, helping you craft the desired atmosphere at an affordable cost. Regardless of your industry, there’s a way to express gratitude to your partners through distinctive wall signage.

Celebrate donors by featuring their contributions with dedicated plaques within your workplace. Chronicle your business’s journey with graphics illustrating its progress over time. Elevate motivation and inspiration among your staff with murals designed to enhance productivity.

Think beyond two dimensions – by blending custom printed graphics with stand-off acrylic panels, you can achieve a unique 3D appearance that complements your aesthetic.

Corporate Office
10778 Trenton Avenue
St. Louis, MO 63132
United States

Fabrication and Installation Facilities Nationwide
© All Rights Reserved